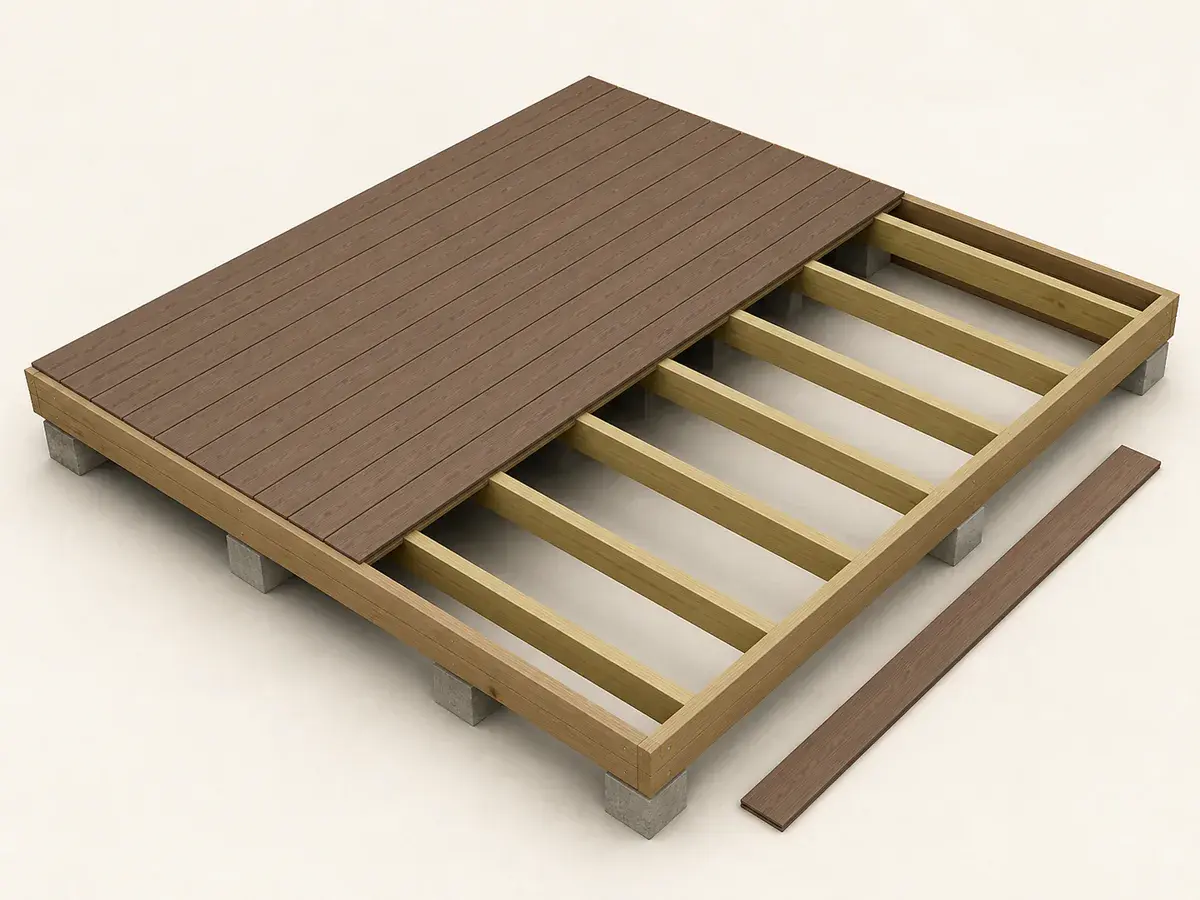
A measurement you can check
- 01
Confirm framed dimensions
Measure the finished deck length and width at several points. Note picture frames, breaker boards, stairs and obstructions that interrupt field boards.
- 02
Use actual board width
Measure or verify the product profile rather than using its nominal lumber name. Add the gap required for that material and installation condition.
- 03
Lay out the rows
Divide field width by the board-plus-gap module and inspect the remaining edge width. Balance ripped edge boards or adjust the border design before fastening begins.
- 04
Convert runs to stock boards
Multiply rows by run length, plan joints over framing and divide by available stock lengths. Add waste for end trimming, defects and the chosen pattern.
What the measurement should represent
Board gaps support drainage and seasonal movement; they are not simply cosmetic spacing.
Picture-frame borders reduce the field area but add their own boards, blocking and mitred cuts.
- Confirm framed dimensions
- Use actual board width
- Lay out the rows
- Convert runs to stock boards
Turn dimensions into an order
Enter the verified dimensions in the Decking Calculator and keep every editable assumption visible. Use its result as the deck boards planning baseline, then replace any default coverage, yield, density, package size or capacity with the value for the exact product you will actually buy.
Stock length and joist layout determine joint positions, so square-foot coverage alone cannot produce a complete board schedule.
Verify before purchase
Repeat the critical measurements and compare the sketch with the real deck boards project. Confirm the selected deck boards product instructions, site conditions and local requirements before committing to delivery or installation. The Decking Calculator can make the arithmetic consistent, but it cannot see hidden damage, access limitations or a design change.
What usually throws the order off
- Using nominal instead of actual board width
- Leaving a very narrow final row
- Counting area without stock lengths and supported joints
- Treating framing and surface-board quantities as one estimate
Frequently asked questions
Can I use one rough measurement for the whole deck boards project?
Use a rough figure only for early budgeting. A purchase-ready estimate should separate zones, openings and details that change the deck boards quantity or product.
Should I round every dimension up?
Record real deck boards dimensions first. Add a transparent allowance after calculating its net quantity; rounding every input hides where overage came from and can compound the order.
Does the Decking Calculator replace product instructions?
No. It provides consistent deck boards planning arithmetic. The selected manufacturer, supplier, installer and local requirements control final coverage, assembly and safety decisions.
Technical references
These references support the measurement and planning method. Product instructions, the site and applicable local requirements control the final installation.