A measurement you can check
- 01
Define the loaded area
Measure the true path, pad or driveway outline and divide irregular shapes into simple zones. Include widened turns and edges that carry traffic.
- 02
Specify each layer
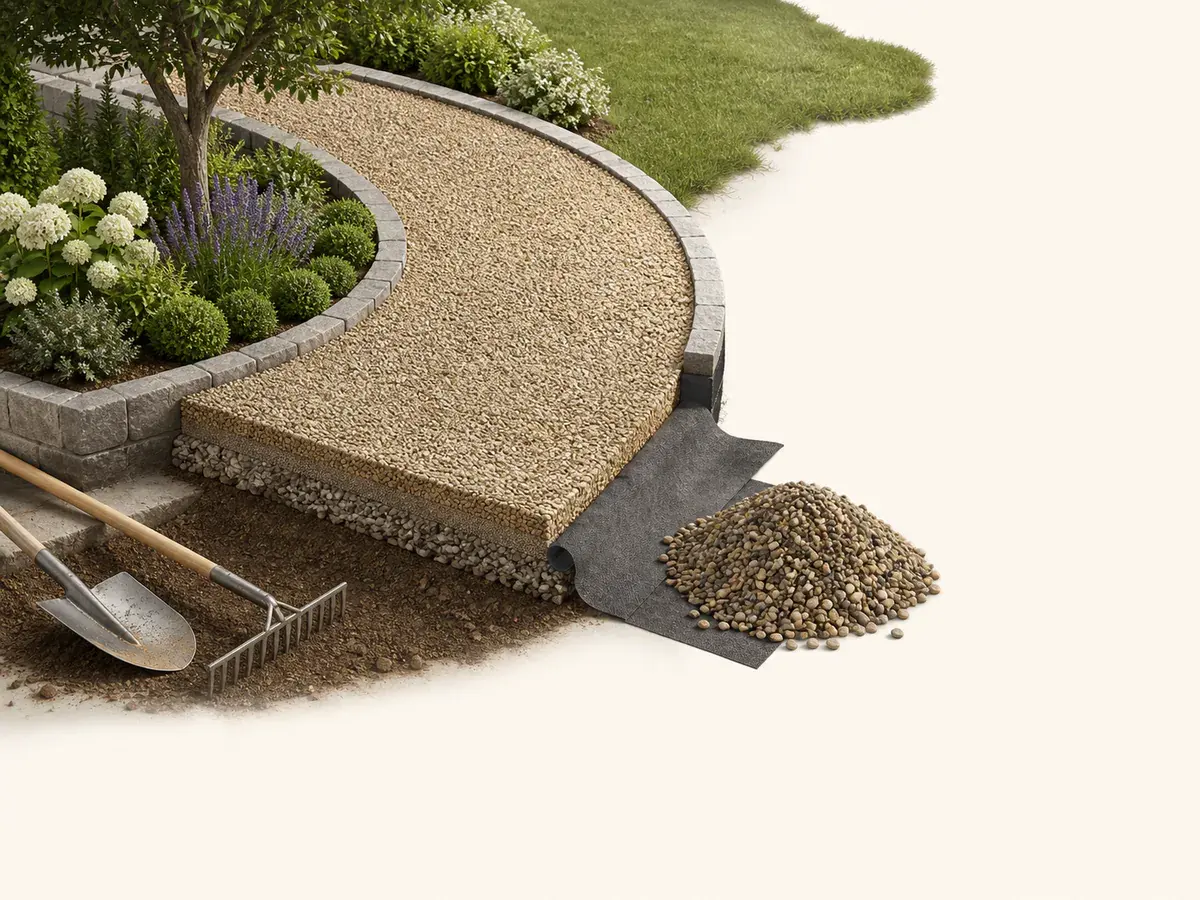
Record subgrade correction, base aggregate and finish stone separately. Each layer has its own compacted depth and material.
- 03
Calculate compacted volume
Multiply plan area by the finished depth using consistent units. Do not use the fluffy height of a newly dumped pile as the design depth.
- 04
Convert with local density
Ask the supplier for the unit weight of the chosen, moisture-conditioned product. Convert volume to tons using that value and account for compaction and grade variation.
What the measurement should represent
Stone called gravel can range from rounded decorative material to dense graded base; the names do not guarantee the same structural use.
Weak or wet subgrade may need separation fabric, drainage or undercutting before adding more stone.
- Define the loaded area
- Specify each layer
- Calculate compacted volume
- Convert with local density
Turn dimensions into an order
Enter the verified dimensions in the Gravel Calculator and keep every editable assumption visible. Use its result as the gravel planning baseline, then replace any default coverage, yield, density, package size or capacity with the value for the exact product you will actually buy.
A thin decorative layer cannot replace a designed load-bearing base for vehicles.
Verify before purchase
Repeat the critical measurements and compare the sketch with the real gravel project. Confirm the selected gravel product instructions, site conditions and local requirements before committing to delivery or installation. The Gravel Calculator can make the arithmetic consistent, but it cannot see hidden damage, access limitations or a design change.
What usually throws the order off
- Using one depth for base and surface layers
- Treating loose and compacted volume as identical
- Using a generic density after selecting a specific aggregate
- Ignoring delivery truck access and payload
Frequently asked questions
Can I use one rough measurement for the whole gravel project?
Use a rough figure only for early budgeting. A purchase-ready estimate should separate zones, openings and details that change the gravel quantity or product.
Should I round every dimension up?
Record real gravel dimensions first. Add a transparent allowance after calculating its net quantity; rounding every input hides where overage came from and can compound the order.
Does the Gravel Calculator replace product instructions?
No. It provides consistent gravel planning arithmetic. The selected manufacturer, supplier, installer and local requirements control final coverage, assembly and safety decisions.
Technical references
These references support the measurement and planning method. Product instructions, the site and applicable local requirements control the final installation.