A decision you can check
- 01
Set use and clear width
Mark entries, gates, steps and passing needs. Confirm local accessibility or permit requirements where they apply.
- 02
Stake curves and drainage
Use smooth radii, inspect how water crosses or leaves the path and protect nearby foundations and planting.
- 03
Test the paver module
Dry-lay field and border units across the chosen width. Adjust dimensions to reduce narrow edge cuts without making the path impractical.
- 04
Count the complete pavement
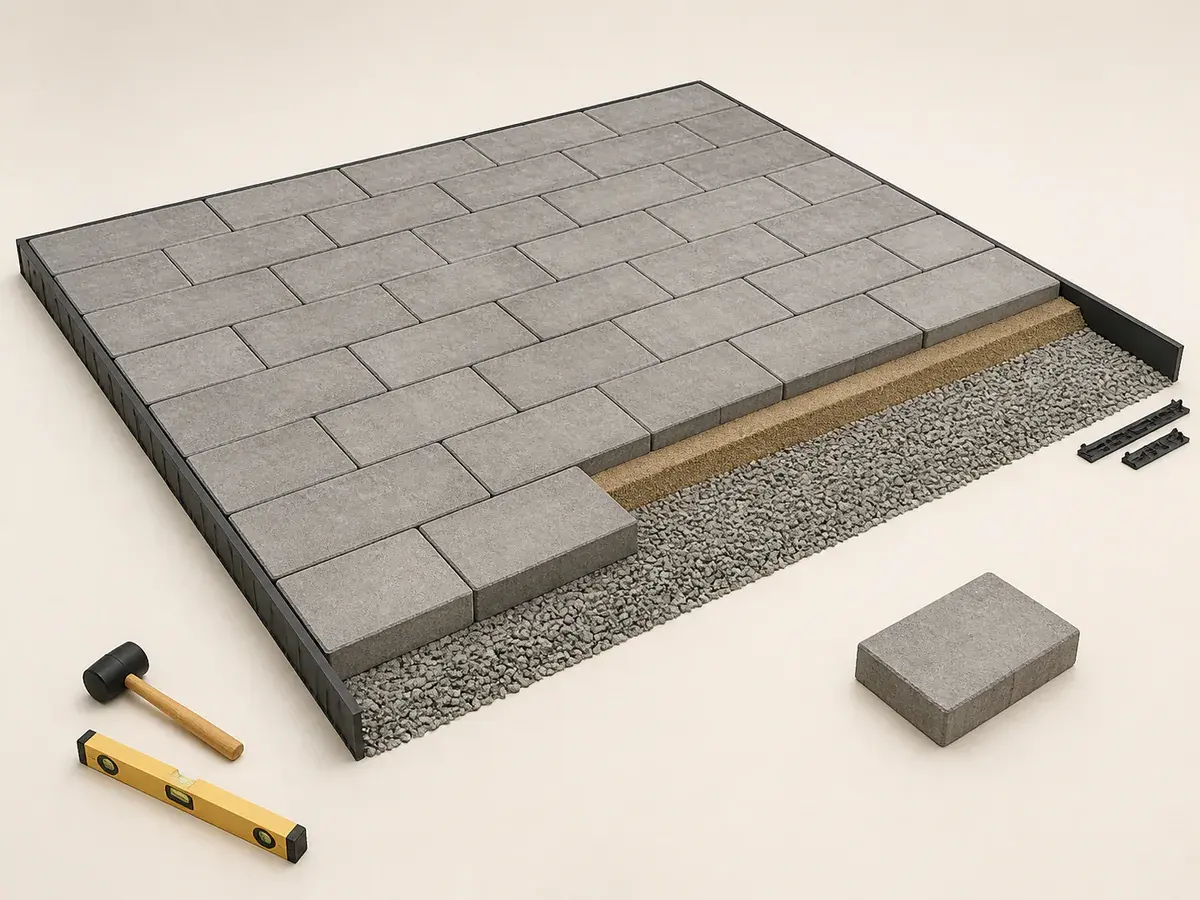
Calculate field and border separately, then add base extension, compacted aggregate, bedding, restraint and joint material.
Start with the site, not the package
A curved path can have more edge cutting than a rectangular patio with greater area.
Base support must extend beneath restraint so the outside course does not roll away.
- Set use and clear width
- Stake curves and drainage
- Test the paver module
- Count the complete pavement
Carry the plan into the calculator
Use the Paver Calculator after the geometry and construction approach are fixed. Keep the site dimensions visible, replace package coverage or product size with the selected specification and calculate accessories separately rather than multiplying everything by one waste percentage.
Steps, utility covers and downspouts interrupt both pattern and drainage and need their own details.
Create a purchase-ready checkpoint
Before ordering materials for the paver walkway, compare the calculator result with the drawing, physical site, product instructions and installer takeoff. Record who approved any change in size, pattern, layer or access plan so the quantity can be recalculated instead of patched with an unexplained allowance.
What usually throws the order off
- Choosing width without testing the module
- Stopping base at the visible edge
- Using bedding to fill base lows
- Repairing settlement only at the surface
Frequently asked questions
When is the paver walkway plan ready for a material order?
After its dimensions, construction method, selected product data, accessories and site access have been reconciled. The purchase takeoff must also reflect this project-specific check: Dry-lay field and border units across the chosen width. Adjust dimensions to reduce narrow edge cuts without making the path impractical.
Which project decisions belong in the quantity plan?
Include decisions that change usable coverage, cuts, handling or purchasing. For this paver walkway project, the checks titled “Stake curves and drainage” and “Count the complete pavement” can change material demand even when labour is priced separately.
Can the Paver Calculator approve the paver walkway plan?
No. It provides repeatable quantity arithmetic and visual feedback for the measured paver walkway. Product instructions, site conditions, applicable requirements and qualified project decisions control the installation.
Technical references
These references support the measurement and planning method. Product instructions, the site and applicable local requirements control the final installation.