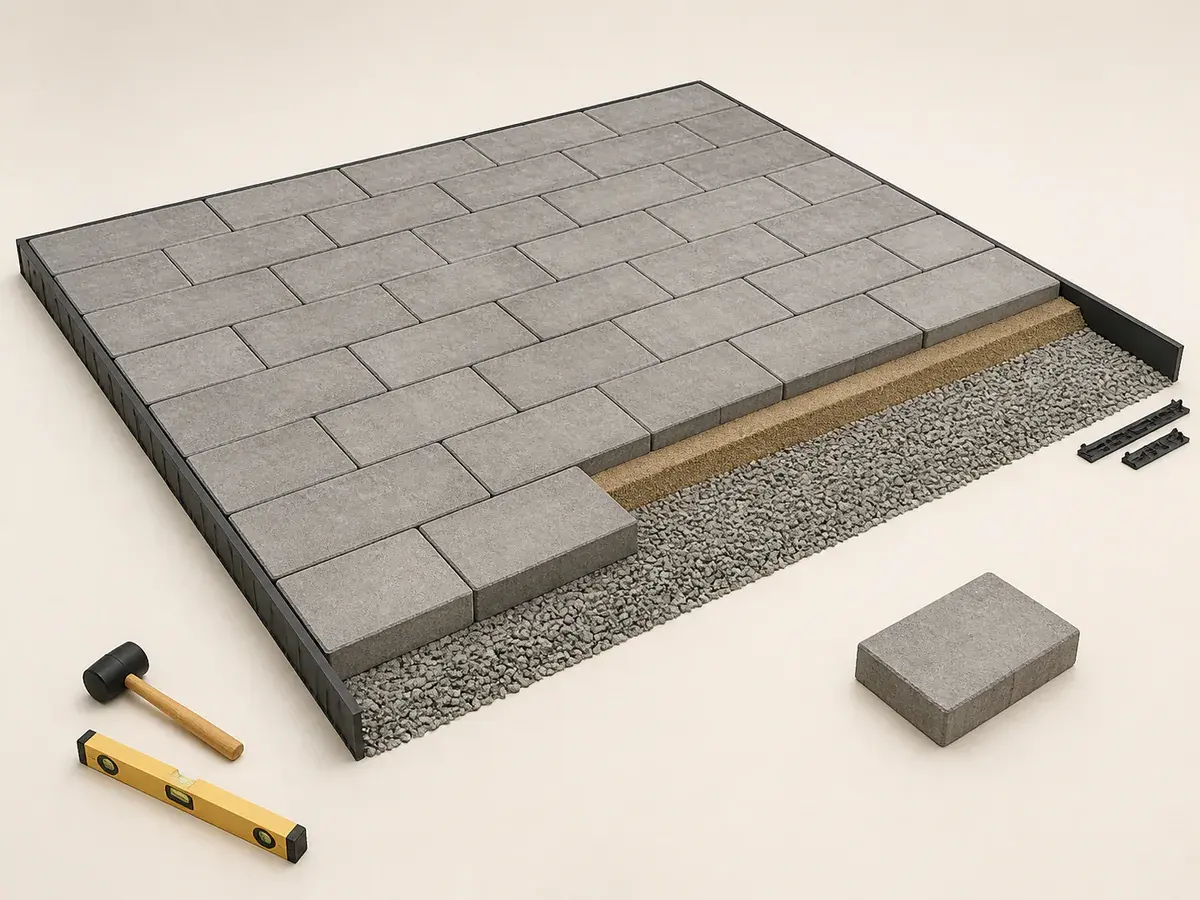
A decision you can check
- 01
Confirm the system
Review soil, groundwater, forecast, delivery access and a legal material stockpile area.
- 02
Verify site conditions
Set finished elevation and drainage outlets before removing the existing surface.
- 03
Protect the work
Protect excavated subgrade and place compacted base in controlled lifts.
- 04
Set the release gate
Inspect grade and edge support before bedding sand or pavers hide the base.
Conditions that change the plan
Rain after excavation can change the condition that the original estimate assumed.
Bedding sand is not a levelling layer for correcting a badly graded aggregate base.
- Review soil, groundwater, forecast, delivery access and a legal material stockpile area.
- Set finished elevation and drainage outlets before removing the existing surface.
- Protect excavated subgrade and place compacted base in controlled lifts.
- Inspect grade and edge support before bedding sand or pavers hide the base.
Connect timing to the quantity
Use the Paver Calculator only after the work area and product system are defined. Quantity, package count and cost do not prove that the paver installation can be delivered, installed, cured or returned to service under the current conditions. Keep the measured paver installation baseline, then price its protection, staging and delays separately so a schedule change does not silently corrupt the takeoff.
A completed section needs runoff control so water does not wash into unfinished work.
Create a written paver installation release decision
For paver installation weather planning, record the selected product, relevant site readings, start time and controlling instruction beside the project record. The protection step is specific: Protect excavated subgrade and place compacted base in controlled lifts. Release the next activity only after this check is complete: Inspect grade and edge support before bedding sand or pavers hide the base. If the measured paver installation condition leaves the permitted range, stop and reassess instead of extending a generic clock.
What usually throws the order off
- Leaving saturated subgrade under the base
- Using bedding sand to correct base grade
- Activating joint sand with an improvised water method
- Opening to rain or traffic from a generic timetable
Frequently asked questions
Can I use a universal rule for paver installation weather planning?
No. The paver installation decision follows the exact product instructions and project specification. This condition can change the plan: Rain after excavation can change the condition that the original estimate assumed.
Does the Paver Calculator account for weather or storage?
It calculates a transparent paver installation material baseline. Add its protection, delivery, storage, labour remobilization and rejected material as separate scope and cost decisions.
What should I document before paver installation weather planning moves to the next step?
Keep the paver installation product labels, timing, relevant readings and protection method together with the release rule. The final field check is: Inspect grade and edge support before bedding sand or pavers hide the base.
Technical references
These references support the measurement and planning method. Product instructions, the site and applicable local requirements control the final installation.