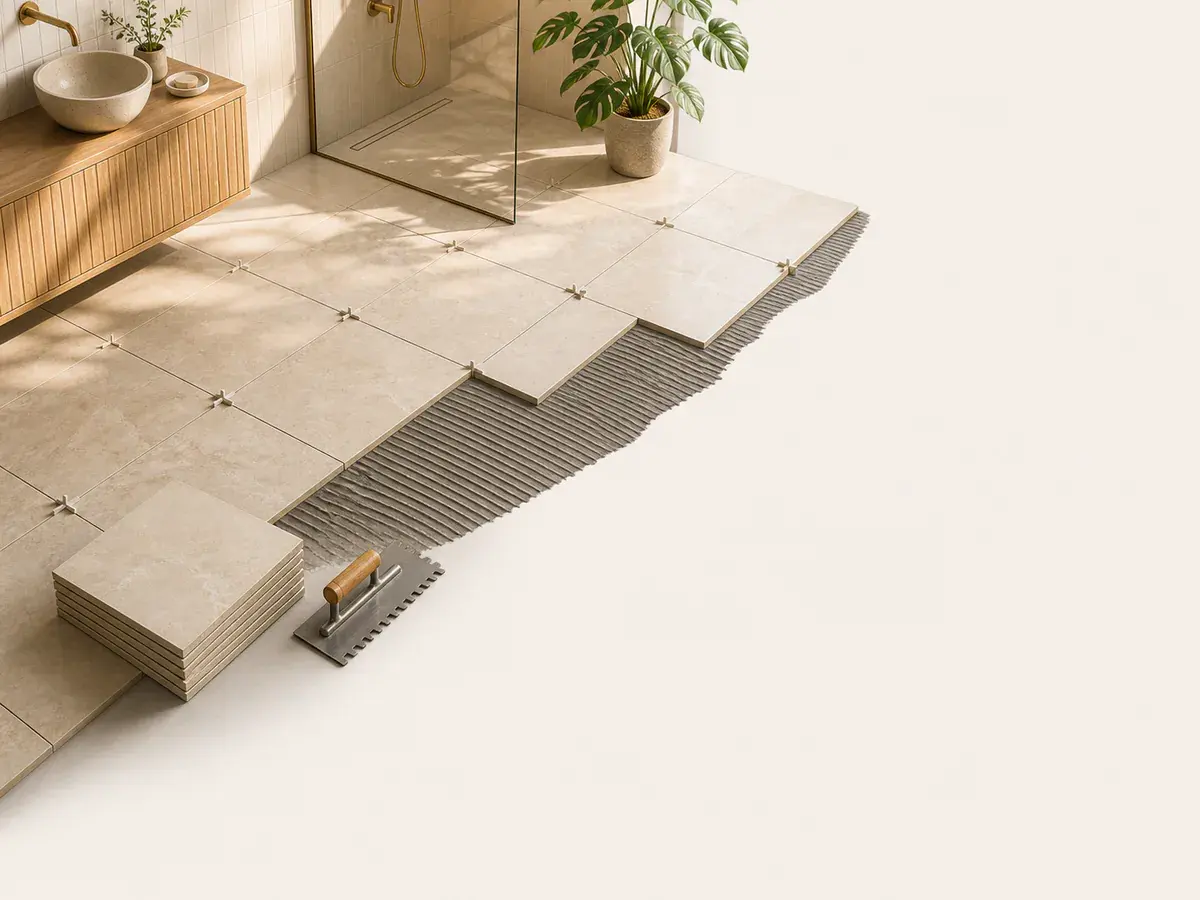
A decision you can check
- 01
Measure substrate flatness
Use suitable straightedges and the tile-system tolerance. Correct high and low areas before spreading mortar rather than trying to float every tile during setting.
- 02
Inspect the tile and pattern
Check actual size, warpage and recommended offset, especially with long plank tiles. Adjust layout before installation begins.
- 03
Control mortar coverage
Use the correct trowel, direction and embedding method, then lift sample tiles to verify contact for the location and format.
- 04
Honor movement and cure
Carry required movement joints through the assembly and keep traffic, grout and cleaning within product cure schedules.
Diagnose the mechanism before adding material
Levelling clips can help align adjacent edges but cannot flatten a bad substrate or remove tile warpage.
A crack-isolation or uncoupling product has defined limits and does not make a moving structure stable.
- Measure substrate flatness
- Inspect the tile and pattern
- Control mortar coverage
- Honor movement and cure
Use quantity as a controlled repair input
Once the cause and repair boundary are established, use the Tile Calculator to measure only the affected tile installation scope. Preserve the original dimensions and state any added repair allowance so buying more material does not hide an unresolved site problem.
Grouting rigidly across changes of plane can move stress into tile or grout.
Set a stop line
Stop and obtain qualified help when the condition involves structure, active water entry, electrical or gas systems, unstable surfaces, fall exposure, uncertain hazardous material or a requirement outside ordinary visual and non-invasive checks. Failure-prevention guidance is not a promise that an assembly will never move, wear or need maintenance.
What usually throws the order off
- Laying out from one end only
- Hiding electrical conflicts behind cover plates
- Using clips instead of flattening
- Filling movement joints with grout
Frequently asked questions
Can extra tile installation prevent this failure?
Usually not by itself. Extra stock can cover a defined replacement boundary, but it cannot correct the mechanism. For this project, remember: Grouting rigidly across changes of plane can move stress into tile or grout.
Should I repair the visible tile installation symptom first?
Document the symptom and its extent first. Begin diagnosis with this check: Use suitable straightedges and the tile-system tolerance. Correct high and low areas before spreading mortar rather than trying to float every tile during setting. Correct active safety, water or movement causes before concealing the evidence.
When should work stop for professional review?
Stop when the condition is structural, rapidly changing, wet from an unknown source, electrically unsafe, difficult to access safely or outside the selected tile installation system.
Technical references
These references support the measurement and planning method. Product instructions, the site and applicable local requirements control the final installation.