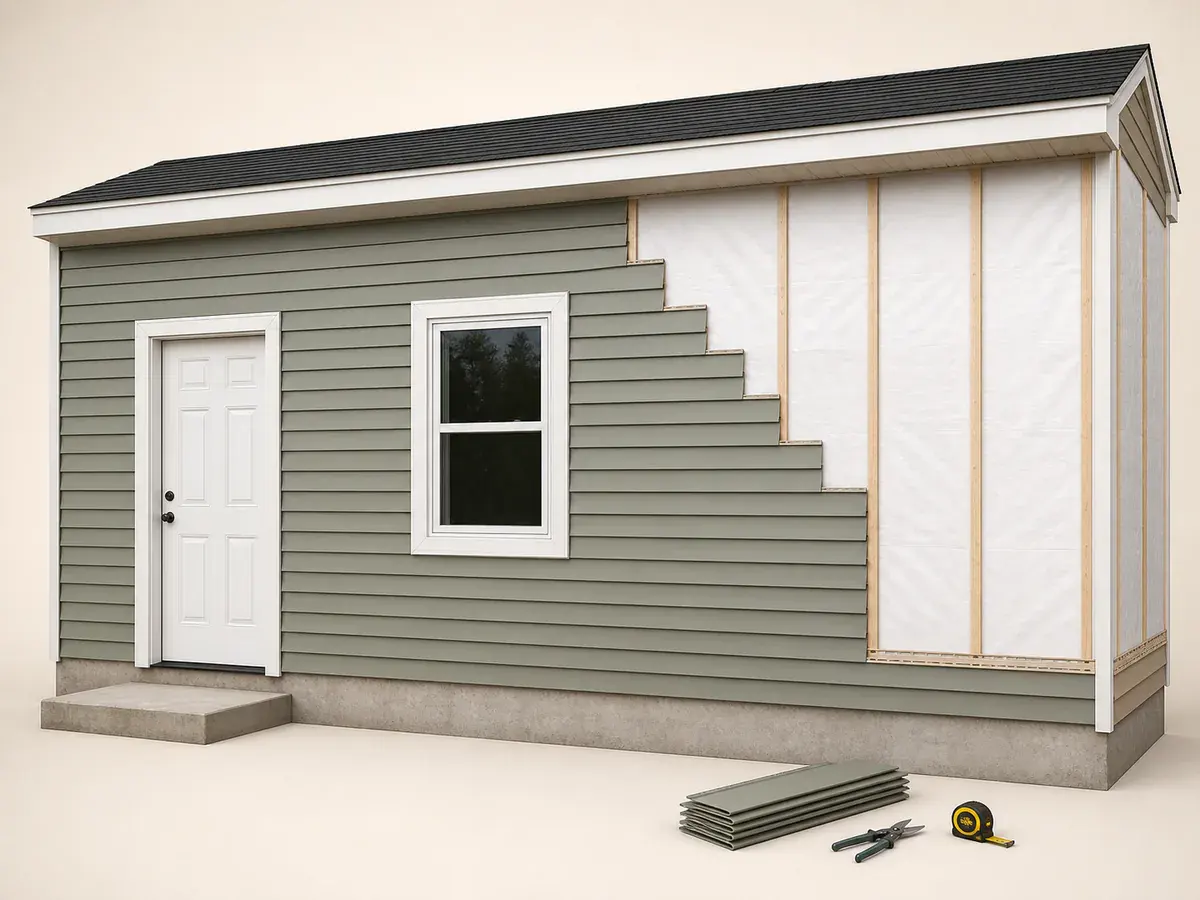
A decision you can check
- 01
Measure the gable triangle
Record base width and rise from the base line to peak. Add any rectangular band below and deduct only substantial openings.
- 02
Choose the course reference
Align exposure with adjoining walls or set a deliberate break at trim. Simulate the last course near the peak rather than accepting a tiny strip.
- 03
Plan rake cuts and trim
Confirm roof clearance, J-channel or trim profile, soffit connection and how each angled panel end is supported and drained.
- 04
Calculate access and material
Apply product coverage and gable-specific waste, then list trim by length and suitable lift, scaffold or professional access separately.
Start with the site, not the package
Gable cuts are directional, so an offcut from the left rake may not fit the right side.
Tall gables increase access time and wind exposure even when their square footage is small.
- Measure the gable triangle
- Choose the course reference
- Plan rake cuts and trim
- Calculate access and material
Carry the plan into the calculator
Use the Siding Calculator after the geometry and construction approach are fixed. Keep the site dimensions visible, replace package coverage or product size with the selected specification and calculate accessories separately rather than multiplying everything by one waste percentage.
Attic vents need flashing and trim planning and should not be deducted without counting their perimeter details.
Create a purchase-ready checkpoint
Before ordering materials for the siding installation, compare the calculator result with the drawing, physical site, product instructions and installer takeoff. Record who approved any change in size, pattern, layer or access plan so the quantity can be recalculated instead of patched with an unexplained allowance.
What usually throws the order off
- Treating gables like rectangular walls
- Reusing directional rake offcuts blindly
- Nailing vinyl panels tight
- Relying on face caulk instead of flashing
Frequently asked questions
When is the siding installation plan ready for a material order?
After its dimensions, construction method, selected product data, accessories and site access have been reconciled. The purchase takeoff must also reflect this project-specific check: Confirm roof clearance, J-channel or trim profile, soffit connection and how each angled panel end is supported and drained.
Which project decisions belong in the quantity plan?
Include decisions that change usable coverage, cuts, handling or purchasing. For this siding installation project, the checks titled “Choose the course reference” and “Calculate access and material” can change material demand even when labour is priced separately.
Can the Siding Calculator approve the siding installation plan?
No. It provides repeatable quantity arithmetic and visual feedback for the measured siding installation. Product instructions, site conditions, applicable requirements and qualified project decisions control the installation.
Technical references
These references support the measurement and planning method. Product instructions, the site and applicable local requirements control the final installation.