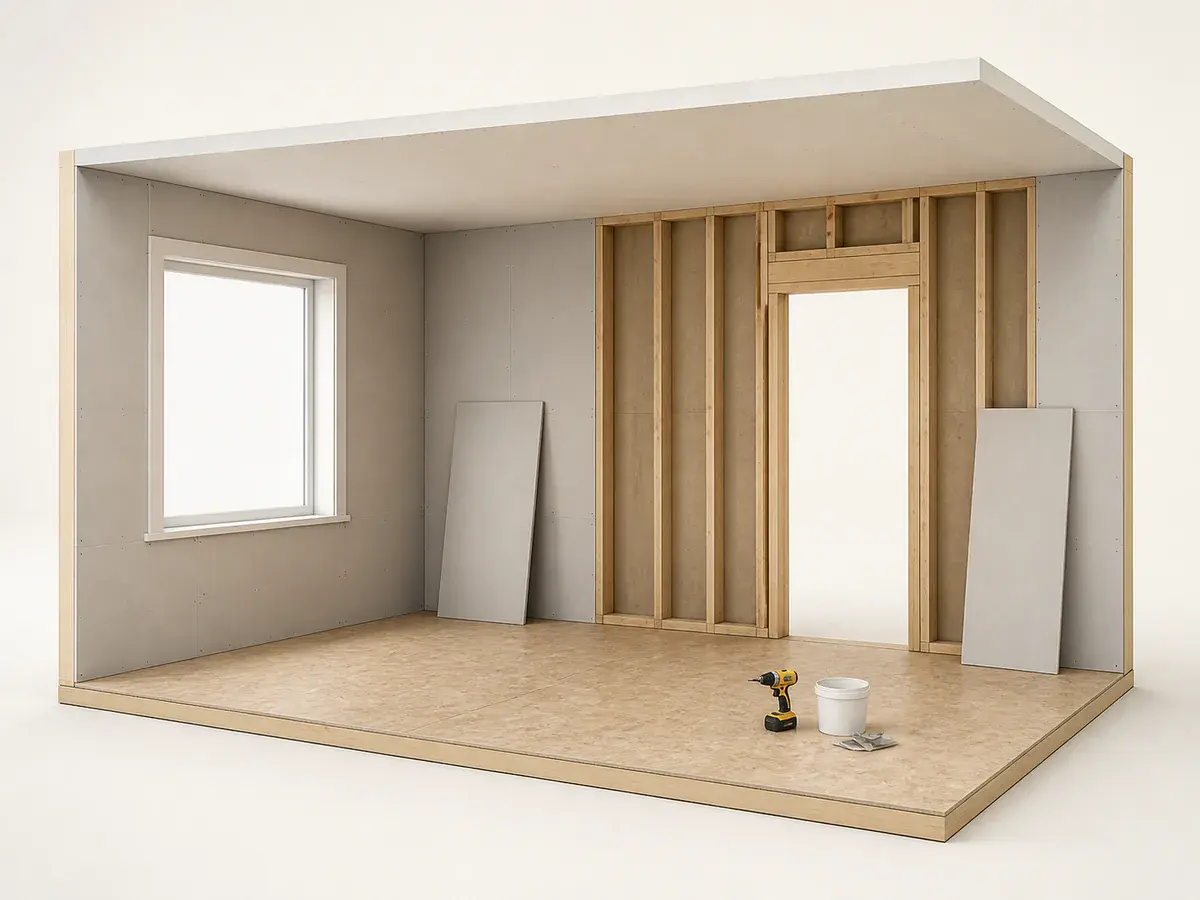
A decision you can check
- 01
Inspect framing and services
Confirm spacing, plane, backing, insulation, fixtures and access panels. Correct framing issues before they are hidden.
- 02
Select ceiling-rated panels
Use thickness and product permitted for the framing, finish load and required rated assembly. Separate specialty areas from ordinary board.
- 03
Plan delivery and lifting
Measure stairs, doors and turning space, then choose sheet lengths and mechanical lift or crew handling appropriate to the room.
- 04
Lay out joints and finish
Map edges over support, stagger joints where required and coordinate lighting with the specified finish level and decoration.
Start with the site, not the package
Large sheets reduce joints but increase weight and access difficulty.
Heavy texture or insulation conditions can affect ceiling panel requirements.
- Inspect framing and services
- Select ceiling-rated panels
- Plan delivery and lifting
- Lay out joints and finish
Carry the plan into the calculator
Use the Drywall Calculator after the geometry and construction approach are fixed. Keep the site dimensions visible, replace package coverage or product size with the selected specification and calculate accessories separately rather than multiplying everything by one waste percentage.
Recessed lights and attic openings need clear, supported cuts and cannot be treated as simple area deductions.
Create a purchase-ready checkpoint
Before ordering materials for the drywall finish, compare the calculator result with the drawing, physical site, product instructions and installer takeoff. Record who approved any change in size, pattern, layer or access plan so the quantity can be recalculated instead of patched with an unexplained allowance.
What usually throws the order off
- Choosing sheets by area alone
- Ignoring access and lifting
- Driving fasteners through face paper
- Inspecting only under temporary centre lighting
Frequently asked questions
When is the drywall finish plan ready for a material order?
After its dimensions, construction method, selected product data, accessories and site access have been reconciled. The purchase takeoff must also reflect this project-specific check: Measure stairs, doors and turning space, then choose sheet lengths and mechanical lift or crew handling appropriate to the room.
Which project decisions belong in the quantity plan?
Include decisions that change usable coverage, cuts, handling or purchasing. For this drywall finish project, the checks titled “Select ceiling-rated panels” and “Lay out joints and finish” can change material demand even when labour is priced separately.
Can the Drywall Calculator approve the drywall finish plan?
No. It provides repeatable quantity arithmetic and visual feedback for the measured drywall finish. Product instructions, site conditions, applicable requirements and qualified project decisions control the installation.
Technical references
These references support the measurement and planning method. Product instructions, the site and applicable local requirements control the final installation.