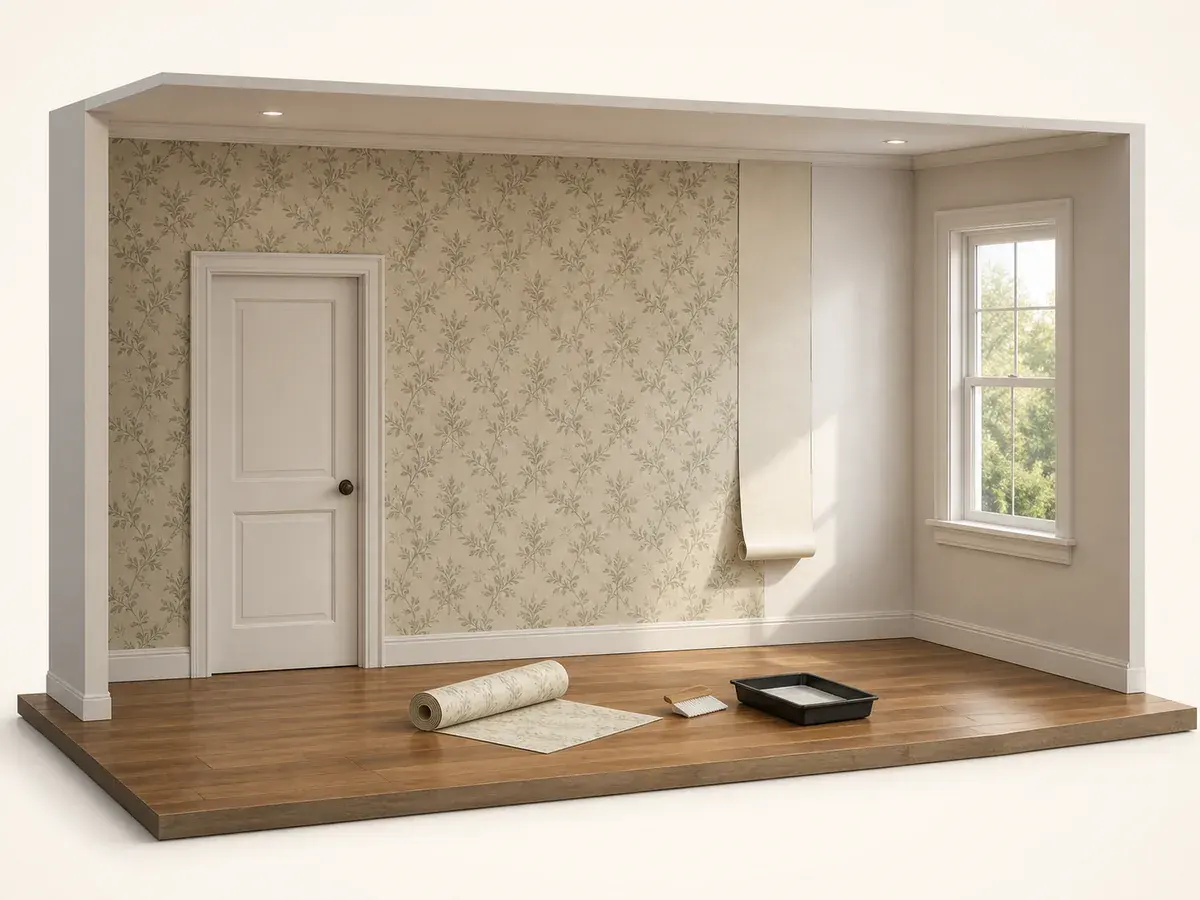
A decision you can check
- 01
Test the wall surface
Check paint bond, porosity, moisture and contamination. Repair weak coating and use a compatible wallcovering primer.
- 02
Control adhesive and booking
Apply even coverage to the required surface, respect soaking or booking time and keep paste from drying before the drop is placed.
- 03
Smooth from centre to edge
Use the correct tool and pressure to release air without squeezing out excessive adhesive or stretching the material.
- 04
Clean and monitor seams
Remove paste as the product permits, set seams gently and inspect during initial drying before making an approved repair.
Diagnose the mechanism before adding material
Tiny bubbles can change during drying, while large persistent blisters may indicate missed adhesive or a weak substrate.
Overworking seams can polish, stretch or contaminate the face and make them more visible.
- Test the wall surface
- Control adhesive and booking
- Smooth from centre to edge
- Clean and monitor seams
Use quantity as a controlled repair input
Once the cause and repair boundary are established, use the Wallpaper Calculator to measure only the affected wallpaper installation scope. Preserve the original dimensions and state any added repair allowance so buying more material does not hide an unresolved site problem.
High heat, drafts and damp walls can create uneven drying and adhesion.
Set a stop line
Stop and obtain qualified help when the condition involves structure, active water entry, electrical or gas systems, unstable surfaces, fall exposure, uncertain hazardous material or a requirement outside ordinary visual and non-invasive checks. Failure-prevention guidance is not a promise that an assembly will never move, wear or need maintenance.
What usually throws the order off
- Ordering accent walls by area only
- Starting before planning both edge cuts
- Hanging over weak paint
- Stretching material while smoothing
Frequently asked questions
Can extra wallpaper installation prevent this failure?
Usually not by itself. Extra stock can cover a defined replacement boundary, but it cannot correct the mechanism. For this project, remember: High heat, drafts and damp walls can create uneven drying and adhesion.
Should I repair the visible wallpaper installation symptom first?
Document the symptom and its extent first. Begin diagnosis with this check: Check paint bond, porosity, moisture and contamination. Repair weak coating and use a compatible wallcovering primer. Correct active safety, water or movement causes before concealing the evidence.
When should work stop for professional review?
Stop when the condition is structural, rapidly changing, wet from an unknown source, electrically unsafe, difficult to access safely or outside the selected wallpaper installation system.
Technical references
These references support the measurement and planning method. Product instructions, the site and applicable local requirements control the final installation.