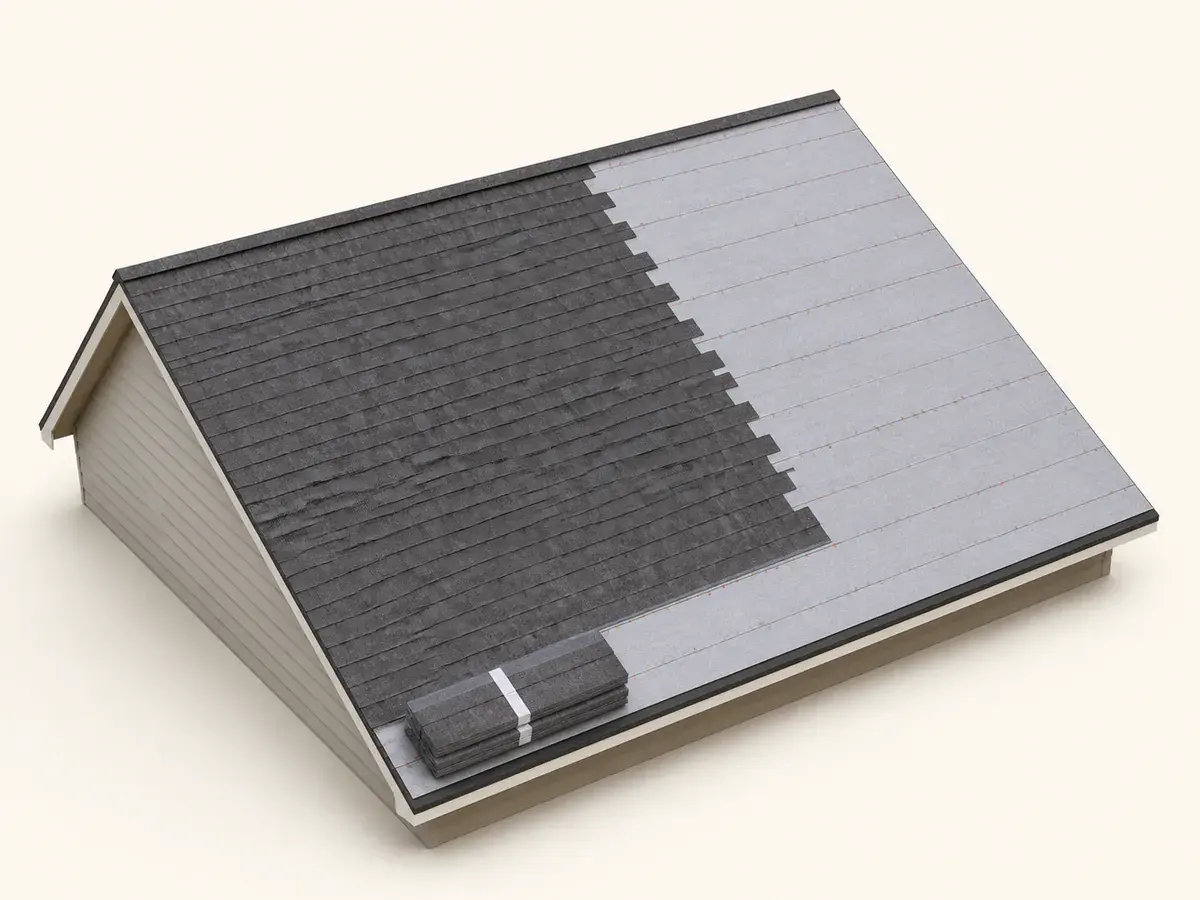
A decision you can check
- 01
Inventory every transition
List walls, chimneys, skylights, valleys, vents, plumbing penetrations and roof-to-roof intersections before pricing.
- 02
Specify replacement or reuse
State which flashings are removed, replaced, counterflashed or retained and how hidden condition changes will be approved.
- 03
Coordinate layers from low to high
Install underlayment, membrane, roofing and flashing so each upper layer sheds onto the lower drainage path.
- 04
Inspect before concealment
Photograph deck repairs and flashing stages, then maintain exposed sealants and penetrations through regular roof inspections.
Diagnose the mechanism before adding material
Caulk can crack, separate or trap water when it is used as the primary flashing design.
Kickout flashing at roof-wall ends helps direct water away from siding and wall assemblies.
- Inventory every transition
- Specify replacement or reuse
- Coordinate layers from low to high
- Inspect before concealment
Use quantity as a controlled repair input
Once the cause and repair boundary are established, use the Roofing Calculator to measure only the affected roof replacement scope. Preserve the original dimensions and state any added repair allowance so buying more material does not hide an unresolved site problem.
Old metal may be incompatible with new roofing, masonry or fasteners even when it looks reusable.
Set a stop line
Stop and obtain qualified help when the condition involves structure, active water entry, electrical or gas systems, unstable surfaces, fall exposure, uncertain hazardous material or a requirement outside ordinary visual and non-invasive checks. Failure-prevention guidance is not a promise that an assembly will never move, wear or need maintenance.
What usually throws the order off
- Using floor plan as roof area
- Counting accessories as field shingles
- Relying on surface caulk
- Leaving flashing scope undefined in the quote
Frequently asked questions
Can extra roof replacement prevent this failure?
Usually not by itself. Extra stock can cover a defined replacement boundary, but it cannot correct the mechanism. For this project, remember: Old metal may be incompatible with new roofing, masonry or fasteners even when it looks reusable.
Should I repair the visible roof replacement symptom first?
Document the symptom and its extent first. Begin diagnosis with this check: List walls, chimneys, skylights, valleys, vents, plumbing penetrations and roof-to-roof intersections before pricing. Correct active safety, water or movement causes before concealing the evidence.
When should work stop for professional review?
Stop when the condition is structural, rapidly changing, wet from an unknown source, electrically unsafe, difficult to access safely or outside the selected roof replacement system.
Technical references
These references support the measurement and planning method. Product instructions, the site and applicable local requirements control the final installation.